Wednesday, 25 March 2009

Texturing: TNT and Gold Coins


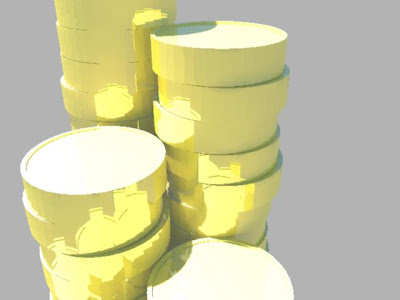
The coins were alot easier to texture, but getting the settings right for the reflective surface took some time to get right.

TNT Texturing and UV Mapping

Texturing for TNT. I definitely believe that the texturing makes all the difference. After I did the texture for my model I was really satisfied with the end result. The time I put in to making sure that the textures looked to their best has been well worth it. Because I was new to texturing I made alot of mistakes before I got it completely right, I had to texture each side separately because of the way I modelled it. I know I will make less mistakes next time, practice makes perfect!!!

Progress on TNT texturing..............


UV Plannar Maping and Photoshop............

Applying the texture in Maya..........


Bucket Texturing Finished (I think!)

Now that I have some knowledge on texturing I have gone back to my previous props to texture them up. This is the progress for the bucket....


Tuesday, 24 March 2009

Basic Texturing

Today I mainly focused on developing my texturing skills. I had a tutorial on basic texturing by my fellow group member Sam King, and with that I was able to try out texturing a couple of my props.

Plannar Mapping...............


Photoshop.......................


Cylindrical Mapping................


Photoshop...............................


Cactus finished

One of the items on the list which Harvey gave me was a cactus. I wasnt sure about my model as I didnt think it looked to much like a cactus but I do think if it was textured it would look so much better. Now that I have had this notion I asked Sam King to give me a tutorial on texturing and UV Mapping, which was really good. He broke it down into understandable terms and believe I can take the information he gave me and apply it to my work. Thanks Sam!!


Texturing test above (tutorial done by Sam King)